
Introduction to Graphics and Shaders was a summer project offered by the GameDev Society, IITK, as part of SnT Summer Projects 2022. I acted as the lead mentor of the project. It was aimed to teach students about real-time computer graphics and shader writing through regular meetups and assignments where they worked on extending a 3D renderer with features of their own.
The 3D Renderer for the project was built on OpenGL using GLFW for window context, and ImGUI was used to create GUI windows. This is a new and improved version of the 3D Renderer which I had already built as a self-project(OpenGL Renderer). You should refer to it for information on the features of the Renderer and its low-level code implementation.

This new renderer was developed from scratch by a team of 3 programmers, including myself. We analyzed and reinvented the previous renderer using much less code and better compatibility across various systems. We used insights and features from the existing codebase to create a cleaner and easier-to-understand library. This version of the renderer is aimed at giving a more user-friendly experience while the code is also optimized for faster implementation of subsequent features.
The project uses CMake build system for building the renderer. It allows for easy switching of build targets and builds via a common renderer library. The CMake is also adjusted for files needed to build the library, with the various types of project files being grouped based on type.
// CMakeLists.txt
# Setup CMake version
cmake_minimum_required(VERSION "3.16.3")

# Setup project target
project(graphics-and-shaders)

# Set C/C++ compiler
set(CMAKE_C_STANDARD 99 CACHE INTERNAL "")
set(CMAKE_CXX_STANDARD 17 CACHE INTERNAL "")
set(CMAKE_CXX_STANDARD_REQUIRED ON CACHE INTERNAL "")

# Set Project Flags
set(BUILD_SHADER_VIEWER 0 CACHE INTERNAL "")

# Set folder paths
set(PROJECT_DIR ${CMAKE_CURRENT_SOURCE_DIR})
set(THIRD_PARTY_SRCS "${PROJECT_DIR}/includes/thirdparty")
set(CMAKE_MODULE_PATH ${CMAKE_MODULE_PATH} "${PROJECT_DIR}/cmake/modules")

# GLFW Flags
set(CMAKE_CXX_FLAGS "${CMAKE_CXX_FLAGS} -lGL")
set(GLFW_BUILD_DOCS OFF CACHE BOOL "" FORCE)
...

# Assimp flags
set(ASSIMP_INSTALL OFF CACHE BOOL "disable assimp install")
add_subdirectory(${THIRD_PARTY_SRCS}/assimp/ "${CMAKE_CURRENT_BINARY_DIR}/assimp")

# Include paths
include_directories(${PROJECT_DIR}/includes)
include_directories(${THIRD_PARTY_SRCS}/glad/include)
include_directories(${THIRD_PARTY_SRCS}/glfw/include)
...

# Define files
file(GLOB_RECURSE FILES_IMGUI "${THIRD_PARTY_SRCS}/imgui/*.cpp")
file(GLOB_RECURSE FILES_UTILS "${PROJECT_DIR}/src/utility/*.cpp")
file(GLOB_RECURSE FILES_GRAPHICS
    "${PROJECT_DIR}/src/rendering/*.cpp"
    "${THIRD_PARTY_SRCS}/glad/src/*.c"
    "${THIRD_PARTY_SRCS}/stb_image/*.cpp")
...

# Add common renderer library
add_library(
        graphics-renderer
        ${FILES_GRAPHICS}
        ${FILES_UTILS}
        ${FILES_OBJECT}
        ${FILES_GUI}
        ${FILES_IMGUI})

# Add required executable
add_executable(
            ${PROJECT_NAME}
            src/Main.cpp)
target_link_libraries(
                    ${PROJECT_NAME}
                    graphics-renderer
                    ${CMAKE_DL_LIBS}
                    glad
                    glfw
                    ${GLFW_LIBRARIES}
                    assimp)
if(${BUILD_SHADER_VIEWER})
add_executable(
                shader-viewer
                src/ShaderViewer.cpp)
target_link_libraries(
                    shader-viewer
                    graphics-renderer
                    ${CMAKE_DL_LIBS}
                    glad
                    glfw
                    ${GLFW_LIBRARIES}
                    assimp)
endif()
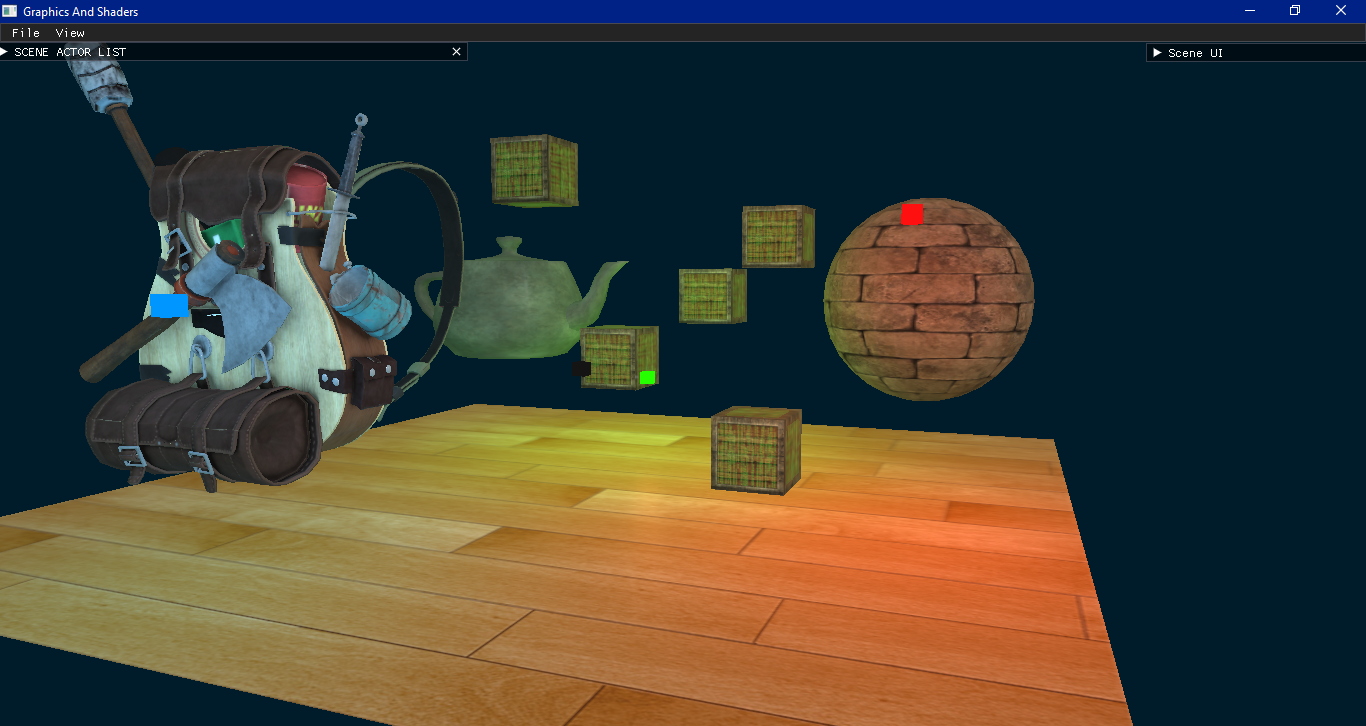
The renderer is designed around a scene system where a scene is made up of multiple actors. Each actor can be a Render actor(primitive, model or light) or a Non-render actor(camera). The Render actors get rendered in the scene and have a material attached to them. Each type of actor has its own material type as well.
Code reference for the actor classes:-
// Actor.h

// Actor class for Scene
class Actor
{
public:
    std::string name; // Name of Actor
    Transform tr;     // Transform component for Actor

    // Default Actor Constructor
    Actor(std::string name_ = "New Actor");

private:
};

// Types of actors
enum ACTOR_TYPE
{
    OBJECT_ACTOR,
    LIGHT_ACTOR,
    MODEL_ACTOR,
};

// RenderActor class for actors which are rendered in a Scene
class RenderActor : public Actor
{
public:
    bool toRender = true; // Whether to render this actor
    Material mat;         // Material for the actor
    ACTOR_TYPE type;      // Defines type of render actor

    // Default RenderActor constructor
    RenderActor(std::string name_ = "New RenderActor");
    // Mat constructor for RenderActor
    RenderActor(Material mat_, ACTOR_TYPE type_ = OBJECT_ACTOR, std::string name_ = "New RenderActor");

private:
};

// ModelActor class for RenderActors with Model component
class ModelActor : public RenderActor
{
public:
    Model *model; // Model Class pointer

    // Default ModelActor constructor
    ModelActor(std::string name_ = "New ModelActor");
    // Path constructor for ModelActor
    ModelActor(std::string path, std::string name_ = "New ModelActor", bool gamma = false);
    // ModelActor destructor
    ~ModelActor();

private:
};
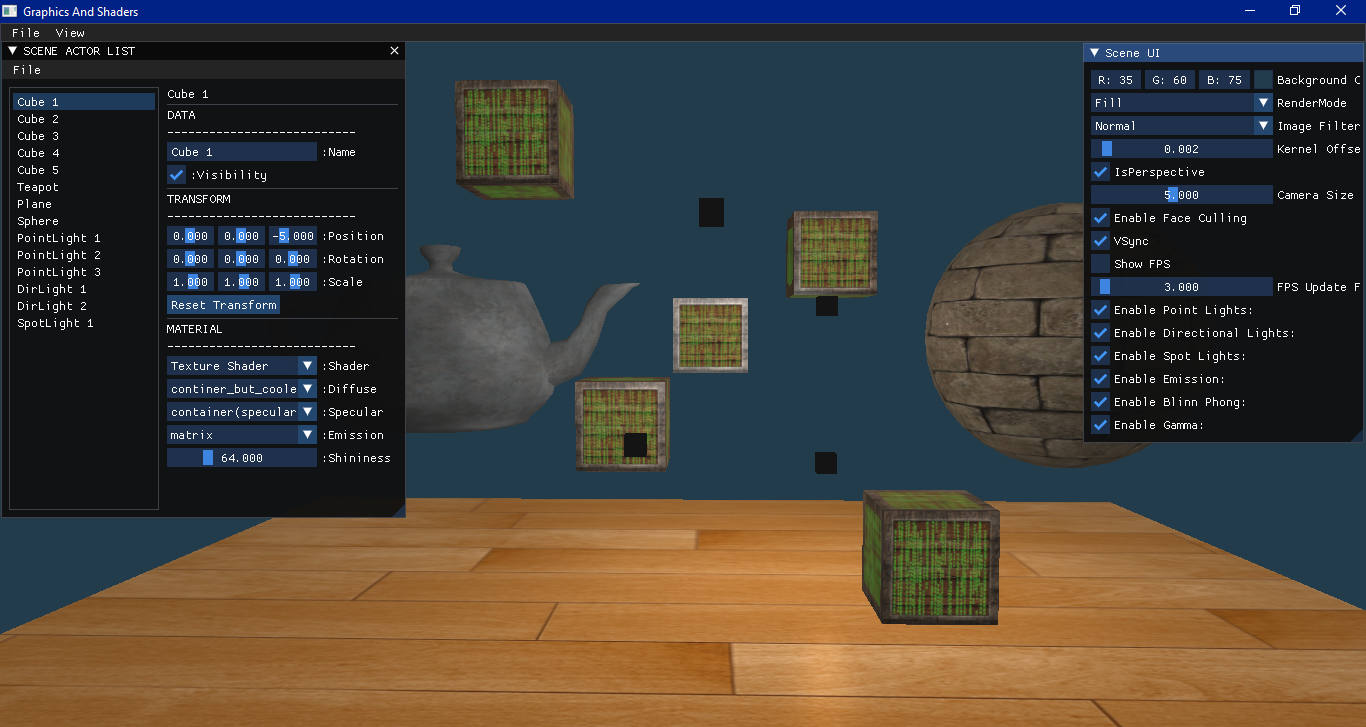
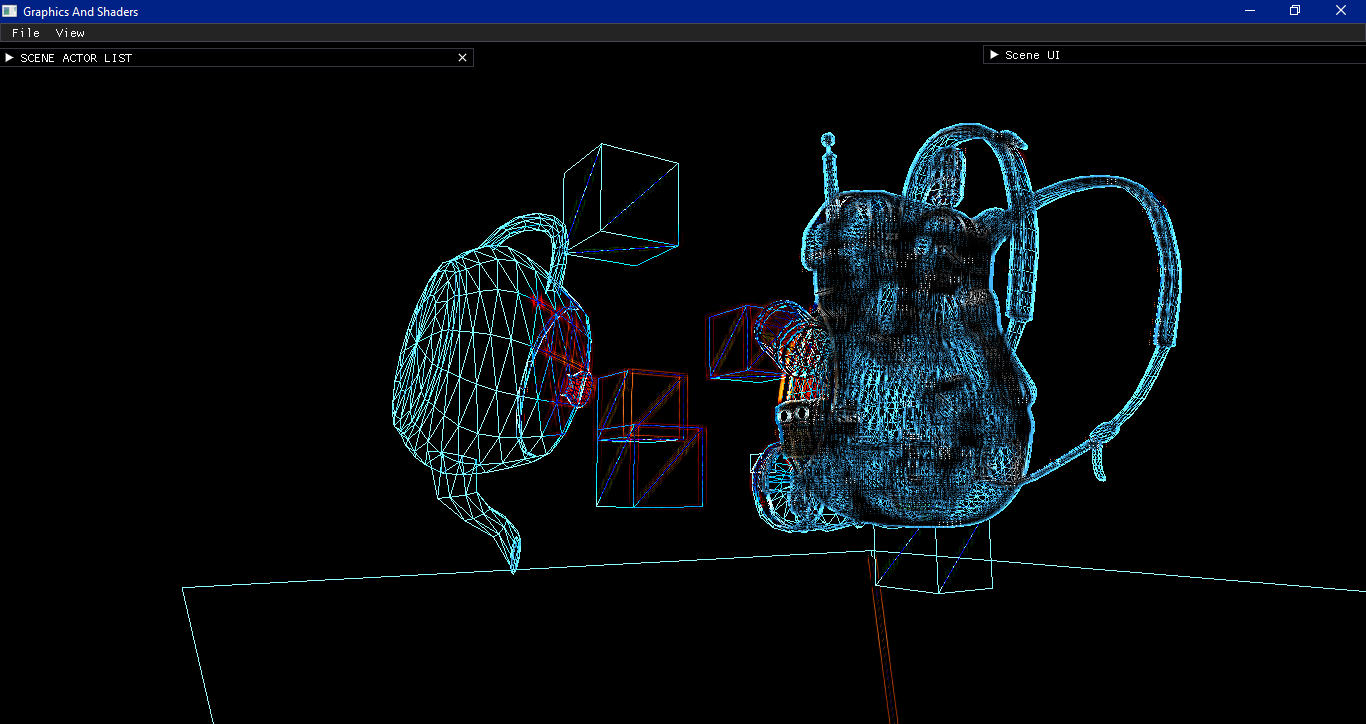
A GUI has been provided to access the actor properties. All the actors of a given scene are listed in a GUI window named SCENE ACTOR LIST. Each actor can have its name changed, visibility toggled, transform altered.
As stated, each actor has a material. The materials are based on various shader templates. Each shader template will have a material instance that defines this specific actor’s color or texture. This data gets used in the shader code to render the object to scene. The various point, directional, and spot lights give a combined lighting effect as we render each actor.
Code reference for the material classes:-
// Shader.h

// Struct for a Field in Material class
struct MaterialField
{
    glm::vec3 color;  // Color for the field
    unsigned int tex; // Texture for the field

    // Default MaterialField Constructor
    MaterialField(glm::vec3 color_ = DEFAULT_SHADER_COLOR) : color(color_), tex(0) {}
    // Texture MaterialField Constructor
    MaterialField(unsigned int tex_, glm::vec3 color_ = DEFAULT_SHADER_COLOR)
    : color(color_), tex(tex_) {}
};

// Templates of shader
enum SHADER_TEMPLATE
{
    COLOR_SHADER_3D,
    TEXTURE_SHADER_3D,
    MODEL_SHADER_3D,
};
...
// Material Class for Actor
class Material
{
public:
    MaterialField ambient;    // Ambient color for Mat
    MaterialField diffuse;    // Diffuse color for Mat
    MaterialField specular;   // Specular color for Mat
    MaterialField emission;   // Specular color for Mat
    float shininess;          // Shininess factor for Mat
    SHADER_TEMPLATE shader;   // Type of shader used by this material
    bool hasEmission = false; // Checks if the material has emission map

    // Default Material Constructor
    Material();
    // Color Material Constructor
    Material(glm::vec3 ambient_, glm::vec3 diffuse_, glm::vec3 specular_, float shininess_ = 64.0f);
    // Texture Material Constructor
    Material(unsigned int diffuseTex, unsigned int specularTex = 0,
             bool hasEmission_ = false, unsigned int emissionTex = 0, float shininess_ = 64.0f);

private:
};
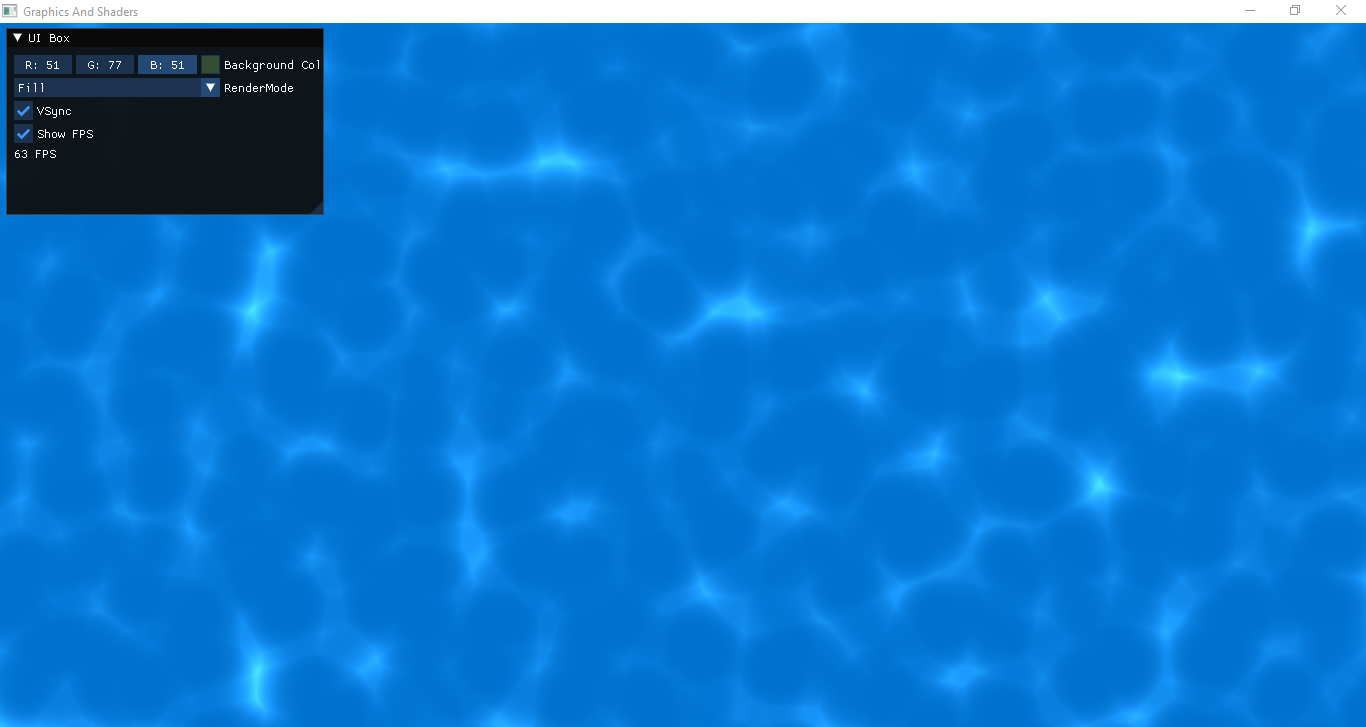
Scene specific settings are also given in the GUI as a separate GUI window named as SCENE UI. Here we can edit the properties such as changing the background color, switching render mode to line or point, camera properties such as orthographic camera or toggle the various type of lights on or off.
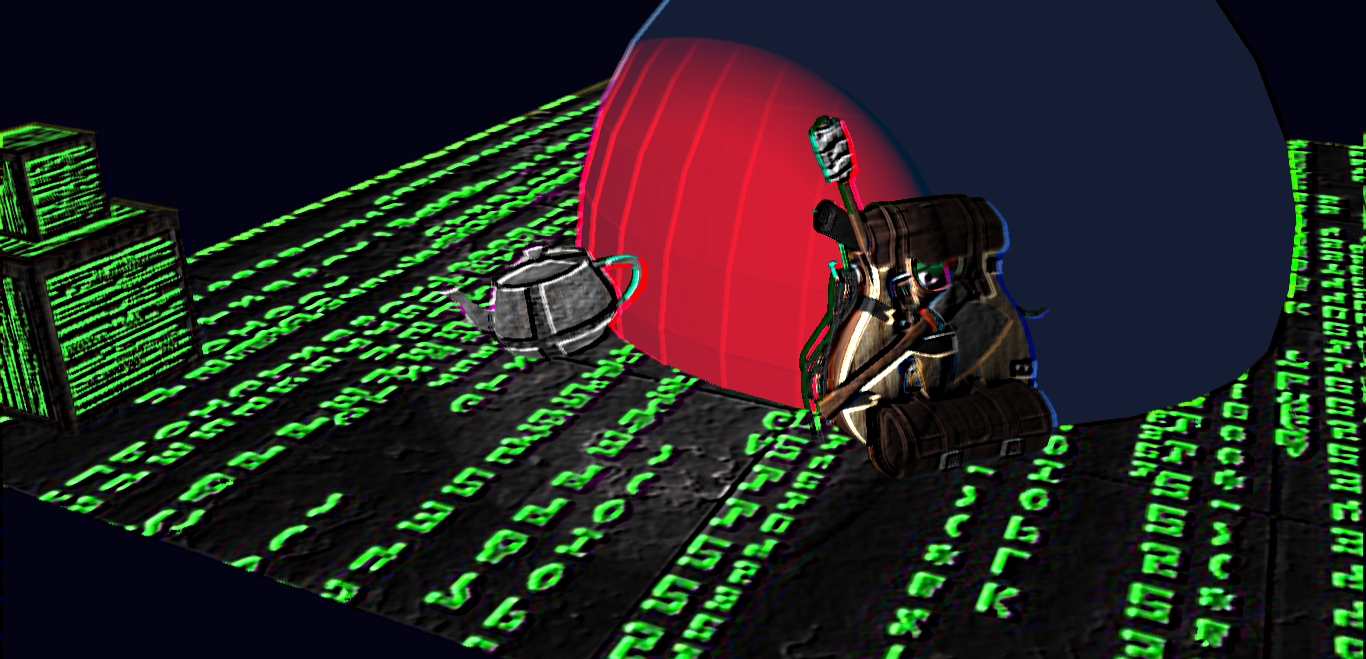
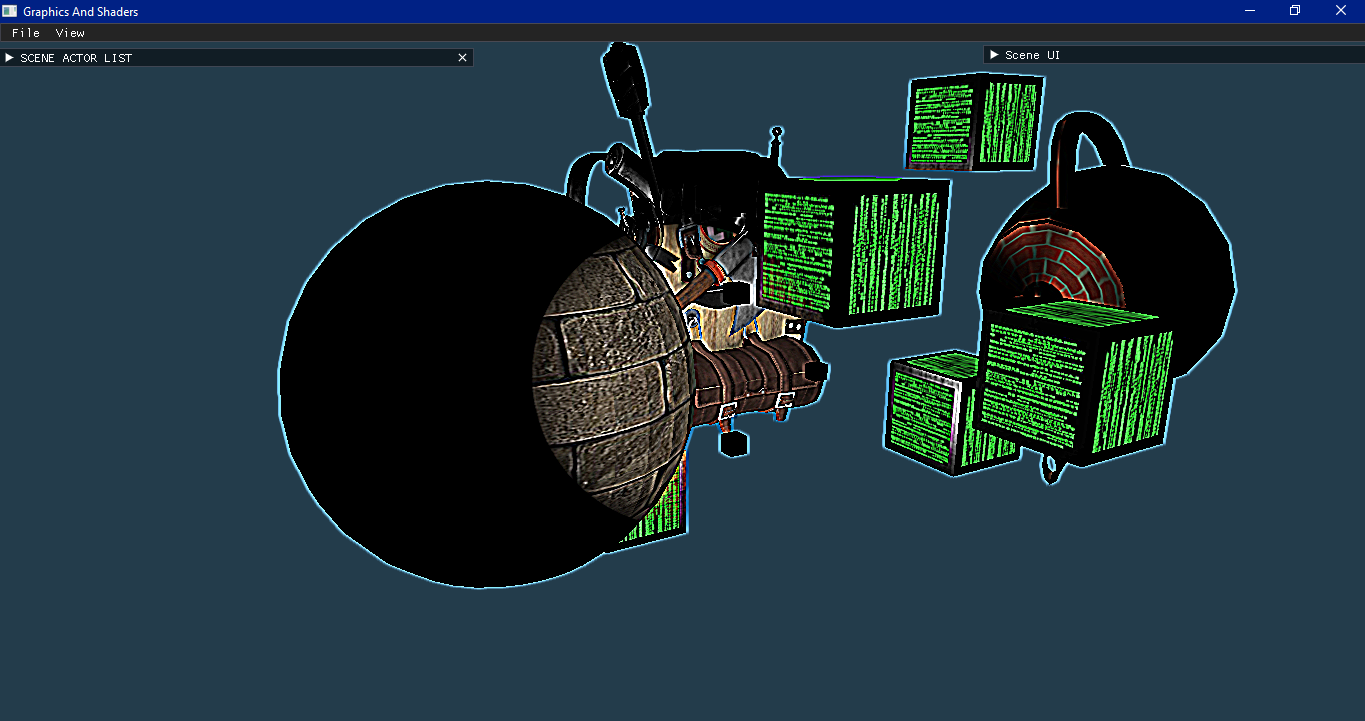
Various framebuffer filters are also given. The renderer renders the scene to a texture and we can transform it using a shader to give special effects such as Edge detection or Blur effect.
In the same vein, we have provided another version of the project which is a Pixel shader viewer. This is structured in such a way that you can import your pixel shader from ShaderToy directly into the renderer and run it. Minor modifications need to be made in your shader code after importing and you can view the shader by running the executable. To build the project as Shader viewer, we can just change the BUILD_SHADER_VIEWER variable in the CMakeLists.txt to 1 instead of 0 and build.
These are just some features of the renderer. For more, access info on the original 3D Renderer here.


